Follow us on :


Make Your Graphics Pop!
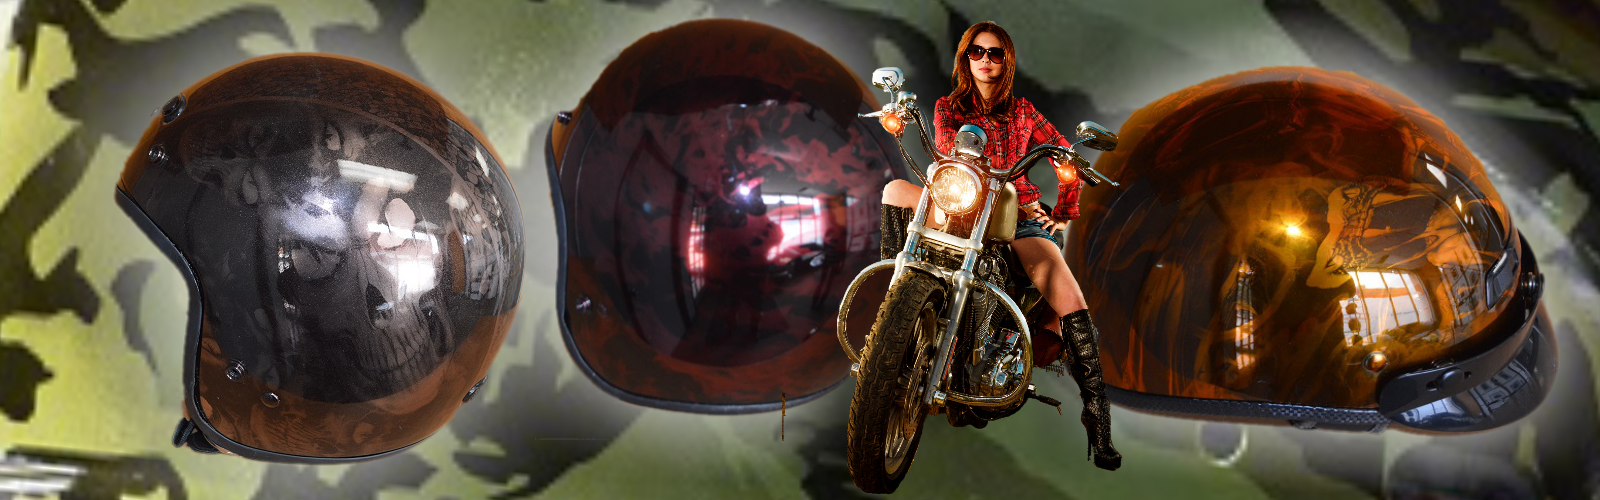
Transfer Images Over Chrome
HydraGraphics is a new process that allows hydrographic printing over a chrome base finish - the results are stunning! The SuperChrome product is simply the best chrome paint product on the market today. The addtion of our patented bonding agent now allows hydrographic inks to be bonded to the SuperChrome Paint. The process is finished with a high gloss clear coat that can be tinted to achive a desired colour tone. The results simply need to be seen to be appreciated.
What is HydraChrome
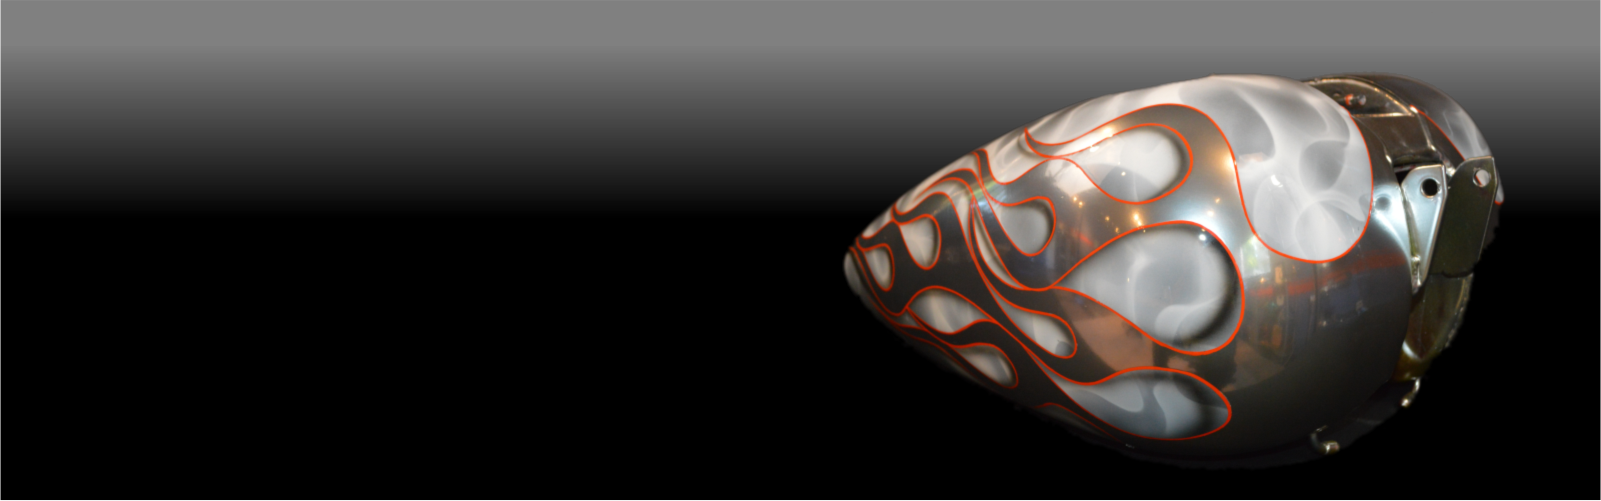
HydraChrome is a revolutionary new process that allows hydrographic printing over a SuperChrome® base - the results are stunning! The SuperChrome® product is simply the best chrome paint product on the market today.
What makes the HydraChrome process stand out from all its competitors is the HydraClear, which finishes the chrome base coat with negligible dye-back. Plus the addition of our technically advanced, patented bonding agent, HydraClear, allows hydrographic inks to be bonded to the SuperChrome® base coat.
The HydraClear can be tinted to achieve a desired candy-chrome colour effect. The process is finished with any high-quality gloss clear coat. The results simply need to be seen to be appreciated.
Hover over to zoom image
Click to place image in zoom box above
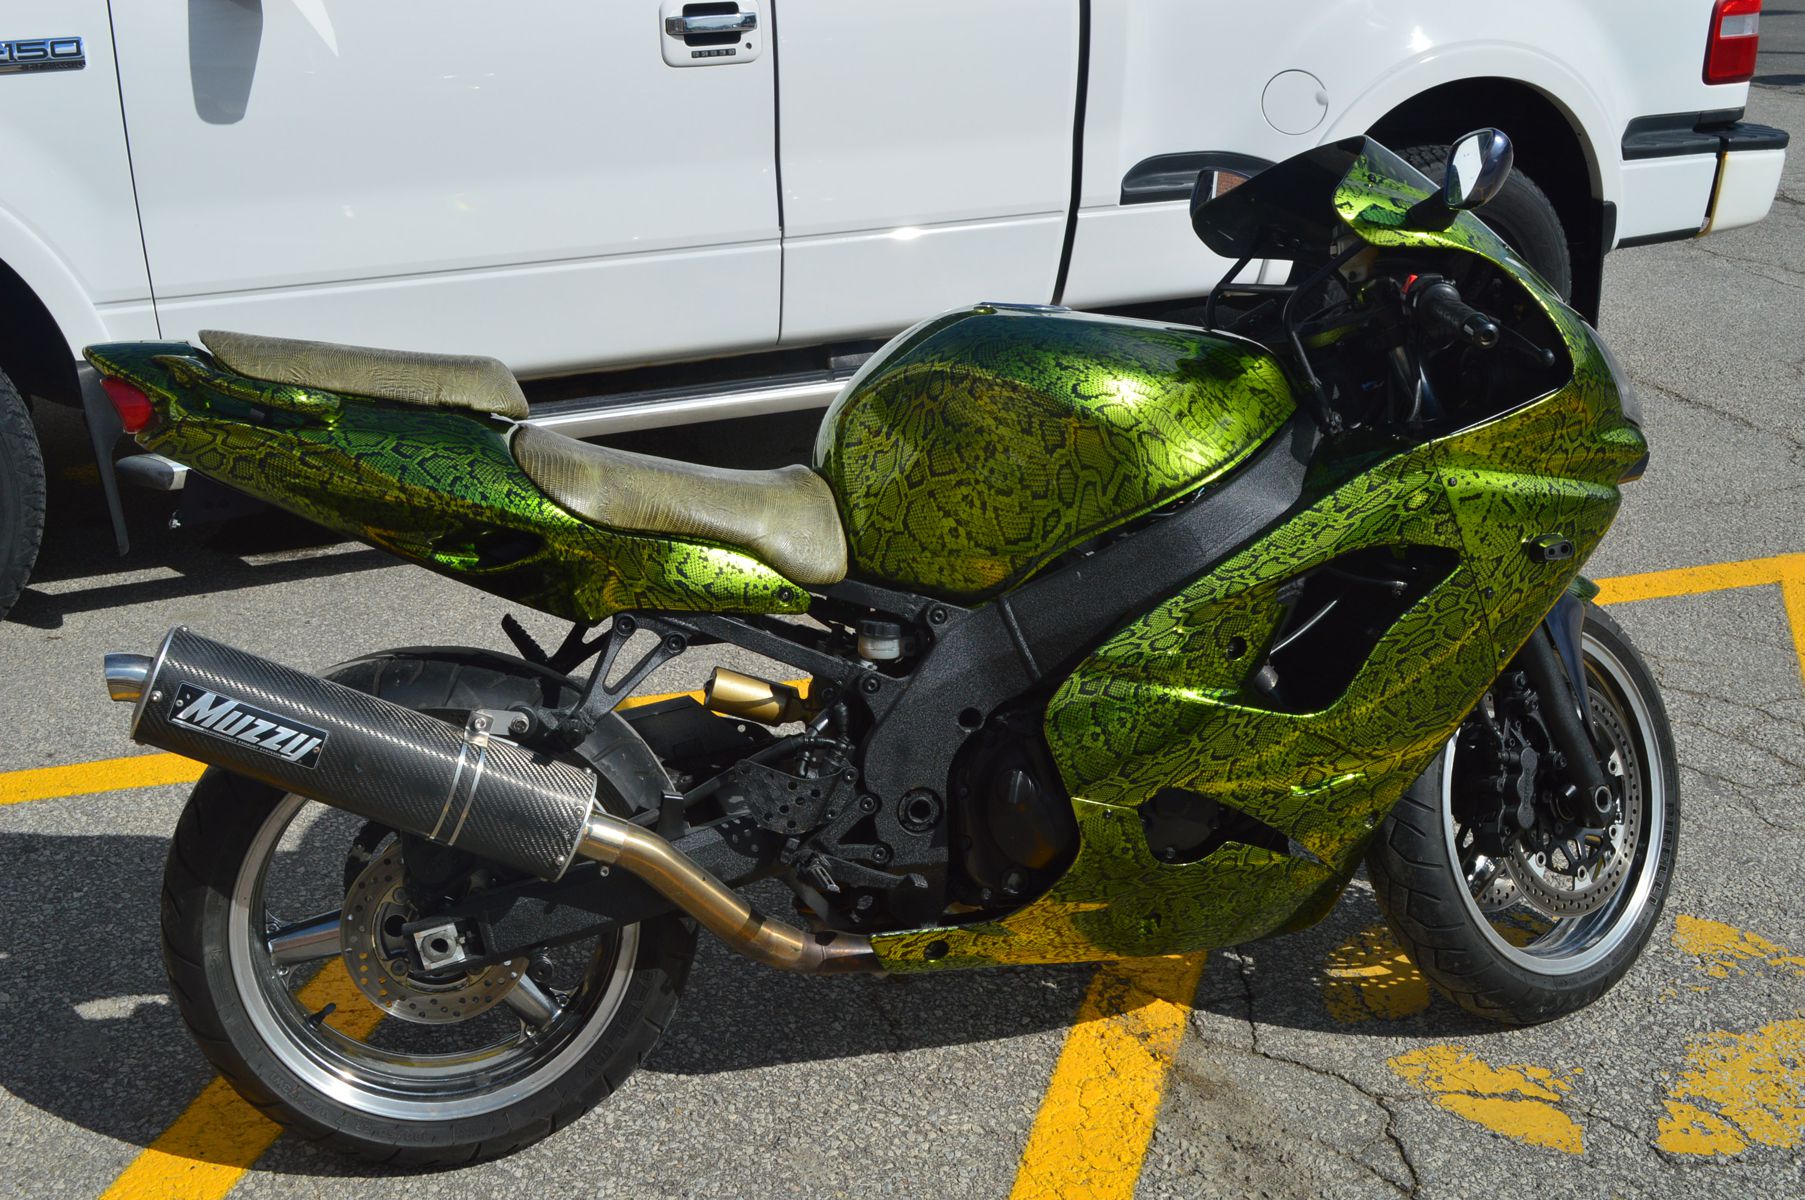
What is Hydro Graphics
The process known as hydrographics in North America, can also be known around the world as:
- immersion printing
- water transfer printing
- water transfer imaging
- cubic printing
It is a method of transferring an image, printed on a special hydrographic film, to a three dimensional object. The object can be made from various substrates, including:
- metal
- plastic
- glass
- hard woods
- many other materials
- ... and now, chrome
The hydrographic process is basically as follows:
- lightly scuff surface using 800-grit wet/dry sandpaper
- clean surface with tack cloth
- prime the surface, allow to dry
- apply a base coat, allow to dry
- use a professional hydrographic tank
- heat water to 30o C
- adjust boundaries to 3 to 4 inches larger than the film being used
- lay film down on surface of water,
- ensure no air bubbles get trapped under the film
- allow film to float 60 seconds
- spray on the activator chemical
- when inks begin to spread, slowly dip the substrate
- when dipping adjust angle so no flat surfaces touch the water
- once completely submerged, swish around to spread excess ink on surface
- remove substrate from water and rinse with clean water for 5 minutes
- allow to dry
- clear coat surface to protect the design
Contact us for more details on this exclusive print process.
If you have received a HydraChrome test kit
follow the instructions in the Application Guide

Download a printable Version of the Application Guide.
If you need Adobe PDF Reader then download it here
If you wish to purchase a HydraChrome kit
Click Here
Application Guide for HydraChrome

8 things you need to know before you start
- Always wear latex gloves while handling primed surface.
- Clean substrate with 60/40 distilled water/Isopropyl solution only & allow to dry thoroughly
- This is a specialty product - TEST A SMALL SAMPLE of each substrate before proceeding to avoid complications.
- Use a CLEAN professional paint booth for application
- Use specific spray gun nozzle sizes listed in each Step below
- Refer to each step for the proper air pressure
- Keep room temperature at a constant 70°F
- High humidity will slow curing times
Step#1 - Pre Priming
Note: This is the most critical stage!
Step 1a: Pre-sand substrate surfaces using standard bodywork techniques. *** Smoother finishes produce better results.***
Step 1b: Pre-prime substrate surfaces using urethane primer Important - Follow manufacturer's instructions for complete drying and finishing allowing all tail solvents to evaporate before proceeding with step #2.

Step#2 - Base Coat
Follow the mix directions on can.
Apply using 24-40 psi with 1.2mm - 1.4mm gun tip
Apply 1 medium wet slick coat, wait 10 to 15 minutes, then apply a second medium wet slick coat.
NOTE:Allow a minimum of 36 hours at 70°F for tail solvents to completely evaporate before proceeding. Longer drying times yields better results!
Force Drying: Allow 2 hours tack dry at 70°F before proceeding to oven.
Metal: 3 to 4 hours at 140°F
Plastic: 3 to 4 hours at 120°F
In the event of any bacteria or contaminants present after the drying process, use scuff gel and scuff pad to lightly remove contaminates, then polish, and remove any excess with a good wax and grease remover. Do NOT use alcohol based cleaners or reducers.
It is not necessary to wet sand the complete surface.
Step#3 - Applying the Chrome
Important! Shake contents in SuperChrome 54X
Apply 2 or 3 coats of SuperChrome - lightly fog on from a distance of 10 inches using a tip size of 0.8mm or 1.0mm at 24-40 PSI of pressure. You have it right if the SuperChrome flashes in 4 to 5 seconds.
Do not apply too many layers of SuperChrome - it will dye back producing poor results.
Use a lint-free cloth or dry-tack cloth along with pressurized air to wipe away dust or over-spray between each coat. DO NOT USE wax based tack cloth.
Allow 5 to 10 minutes between coats to dry
NOTE: Allow approximately 72 hours to dry at 70°F for chrome to cure.
Longer drying times yield better results.
Force Dry in oven:
Metal: 3 to 4 hours at 140°F
Plastic: 3 to 4 hours at 120°F
If SuperChrome does not flash to chrome within 4 to 5 seconds after each coat call for technical assistance.
Unused Chrome can be poured back into tin and stored for future use.
Step#4 - HydraClear Coat
Apply using 24-40 psi with 1.2mm - 1.4mm gun tip
Apply one coat of HydraClear. It can be tinted to achieve a candy-chrome effect.
Allow to dry for 8 hours at 70°F.
Force drying: Plastic: 2 to 3 hours at 120°F
Metal: 2 to 3 hours at 140°F
Use standard polishing techniques to increase brightness before dipping
Your substrate is now ready for hydrographing
Step#5 - Final Coat
Once your graphic has dried apply SuperChrome Clear Coat. Follow the mix directions on can.
Apply 2 medium wet coats, allowing 20 minutes between coats, to seal chrome. Allow to dry thoroughly - Minimum of 12 hours at 70°F.
Force Drying:
Metal: 3 to 4 hours at 140°F
Plastic: 3 to 4 hours at 120°F
Use standard polishing techniques to increase the brightness of the chrome.
The SuperChrome Clear Coat can be tinted to achieve a candy-chrome effect.


